LED Replacement Dial Light.
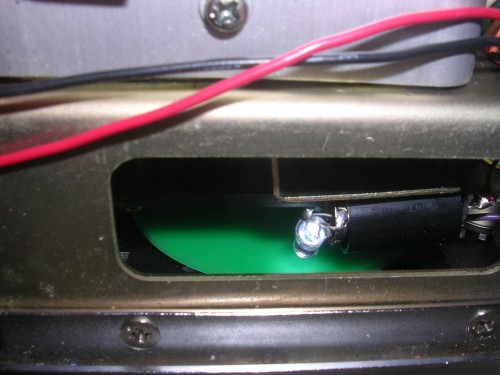
The main dial light for my trusty old Trio TS700 failed. I have already wedged a white LED in behind the band switch and now there is one behind the main dial.
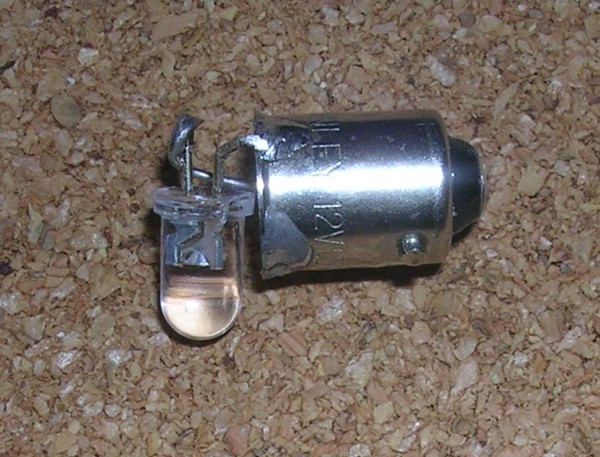
This one was easier. I only needed to remove the top cover. The main dial is back lit by a standard small bayonet fitting, 12V 1.5W bulb, rather than a wire ended one. In my junk box I have several LEDs on a board that was once part of a pound shop cycle lamp. The switching IC failed but the LEDs are ok. They work well off 12V with a 1k2 series resistor. One of these LEDs, together with a resistor, is now wired into the original bulb cap.

The bayonet fitting defines the position of the new 'bulb' and it can be adjusted (by bending the wires and bracket) so as to give the right balance of illumination to the dial. The directionality LEDs is a bit of a nuisance when general illumination is required.

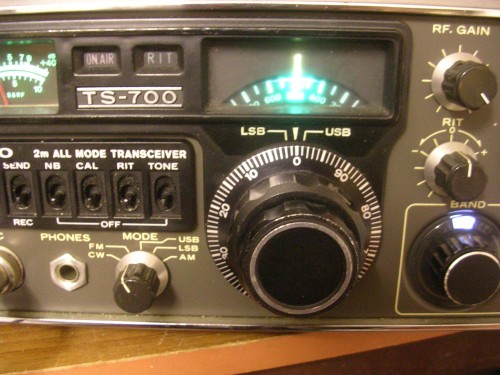
Here it is in action.

LED Replacement Dial Light Mk.II.
I have had to replace this lamp in another TS700. This time the bulb was not the bayonet fiiting original. It was a screw fit bulb modified with cunning blobs of solder to stay put in a bayonet socket. The lamp was unreliable as a result. Not having a lamp base to modfify I fitted the LED and resistor to a piece of Vero board cut to fit into the bulb socket and connected with flying leads. This solves the alignment problem. With the leads soldered tighly I have found that they are sufficient to hold the assembly in place.
John Everingham. G4TRN, FTCL
Webmaster.
email:- g4trn(at)saundrecs.co.uk